Text Editor
The Text Editor is used in many places in Collect!
for entering or viewing textual information, for example,
Debtor Notes, Contact Attachments, User Logs. The
Text Editor is also used for entering report codes and
commands, for example, in the Report Body and in
Control Files. The Text Editor is also used for creating
Email and creating or modifying Pick Lists.
Accessing Text Editor
There are several places in Collect! where you may
access the Text Editor. Providing you have access to
the various menus and forms, you can use one of the
following ways to open the Text Editor.
1. While on the Debtor form, click into
the Notes area.
2. While on the Contact form, select the small file folder
icon to the right of the field labeled Attachment.
3. While on the Transaction form, select the small file
folder icon to the right of the field
labeled Attachment.
4. While on the Access Rights form, select the small file
folder icon to the right of the field
labeled Pick List File or the field
labeled Control File.
5. When viewing the Report Definition form, select the
Report Body area or press F5.
6. When on the Send Mail form, composing an email,
click into the body of the email.
7. Print any report to screen. The results are shown in
the Text Editor.

Working In The Text Editor
The Text Editor conforms to standard command sets
including arrows for movements, shift arrows for selection,
CTRL+Home and CTRL+End for rapid movements on a line.
Full mouse support is available.
 The Windows clipboard is accessible when
using Cut/ Copy/ Paste in the Text Editor.
The Windows clipboard is accessible when
using Cut/ Copy/ Paste in the Text Editor.
Movement
Arrows - Move in the direction of the arrow
Home - Move to start of the line
End - Move to the end of the line
Page Up - Move up a page
Page Down - Move down a page
Ctrl+Left Arrow - Word left
Ctrl+Right Arrow - Word right
Ctrl+Home - Move to top of file
Ctrl+End - End of file
Deleting
Ctrl+Y - Delete line
Delete - Delete character in front of the cursor
Backspace - Delete character to the left of the cursor
Cut Copy Paste
To cut or copy, select what you want to
cut or copy.
You can drag with the mouse or use the Arrow keys
while holding down the Shift key.
Select Edit from the top menu bar and then select
Cut or Copy to place text into the clipboard.
Select Edit from the top menu bar and then select
Paste to paste text from the clipboard.
 Paste with OVERSTRIKE mode on leaves the
cursor where it is. Paste in INSERT mode moves the
cursor to the end of the pasted section.
Paste with OVERSTRIKE mode on leaves the
cursor where it is. Paste in INSERT mode moves the
cursor to the end of the pasted section.
Date Time Stamp
To enter a date and time stamp in the files you are
working on in the Text Editor, select CTRL+D. This
will automatically enter the date, time and operator ID
at the location of the cursor.
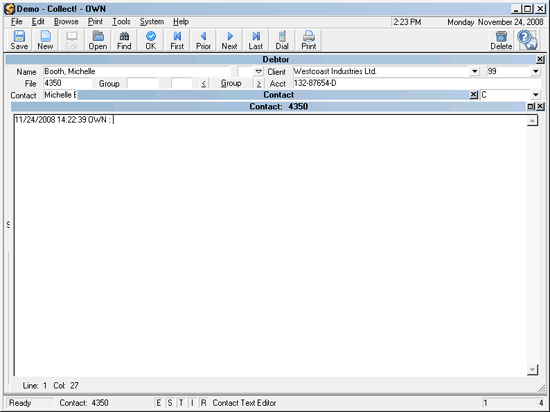
Date Time Stamp In Text Editor
This feature is disabled when in Debtor Notes as
they are already stamped.
Notes Access Rights
You can set the user's access rights for Client and
Debtor notes to control how your users add and modify
notes.
FULL - Gives the user full access to add or edit and
number of note lines.
NO DELETE - Allows the user to add a new note to
the Client or Debtor notes. Other lines of notes are
Read Only.
READ ONLY - Just like Not Delete. Allows the user to
add a new note to the Client or Debtor notes. Other lines
of notes are Read Only.
NO ACCESS - Notes are Read Only and cannot be
edited at all.
Text Editor Access Rights
If you need to set access rights on a per field basis for
Text Editor windows, you can enable a switch in the
Screen and Messages form.
Select System from the top menu bar and then select
Preferences from the drop-down choices. Select
OPTIONS, SOUNDS AND COLORS to open the
Screen and Messages form. Switch ON "Field level
editor access."
With this switch enabled, you can set access rights
for any field that uses the Text Editor to display data
and the Text Editor will take on the same access level
that you set for the field. So if you make a field Read Only,
then the file that you attach to that field will open in
Read Only mode in the Text Editor.
This enables you to set access rights individually for Notes,
Contact Data and Attachment, Attachment File and any
other fields that use Collect!'s Text Editor to display contents.
See Also
- Keyboard Tips
- Change Debtor Notes to Read Only
|
Was this page helpful? Do you have any comments on this document? Can we make it better? If so how may we improve this page.
Please click this link to send us your comments: helpinfo@collect.org