CV11 Server Options
The Collect! Signon Server pick list enables you to select from
different CV11 Server configurations. Collect! reads the entries
configured in your connect.ini and displays
them in a pick list attached to the Server field.
The Signon Server pick list is available in Collect!
Version 11.4.1.1 and newer.
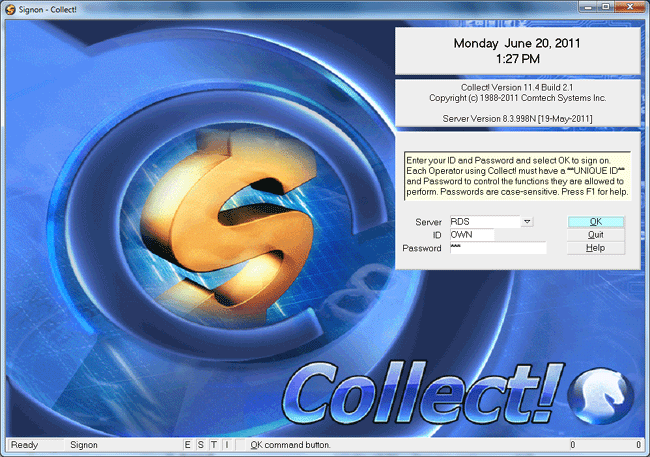
Collect! Splash Screen
*** This is an ADVANCED topic for Administrators and
Technicians.
Normally, you may not even see the Server field in the Signon
form. It is only displayed if you have more than one Server entry
in your connect.ini.
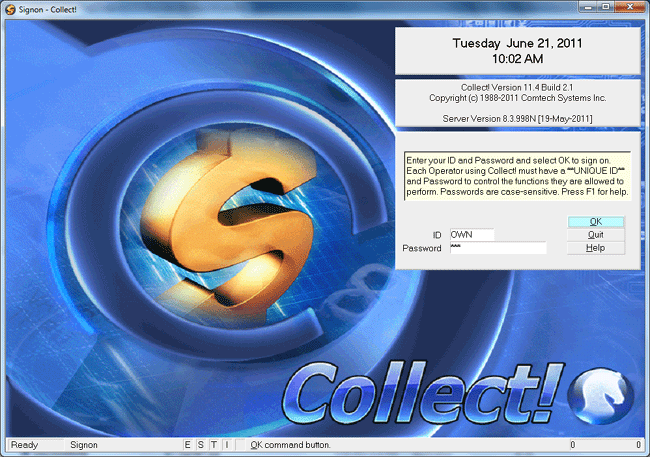
Signon Screen without Server Pick List
Normally, you would use the default RDS
option if you do have more than one Server entry and
this Server pick list is displayed.
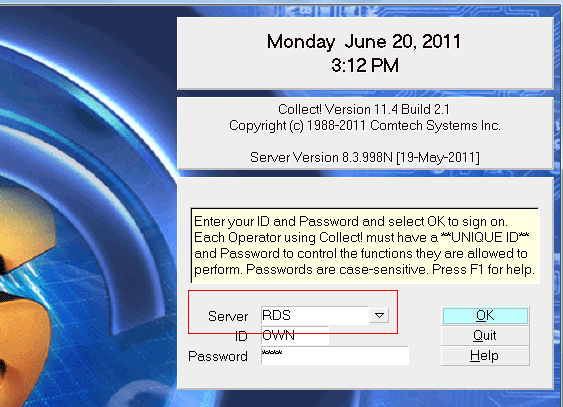
RDS Selected from the Server Pick List
Connect Ini Entries
Collect! reads the entries configured in your connect.ini
and displays them in the Signon Server pick list.
The connect.ini is a configuration file located
in your CV11\bin folder. Collect! reads this to determine the IP
Address of your CV11 Server, your network Protocol and the
Port your CV11 Server will be listening on. You can add your
own entries for customized configurations.
This is an example of the connect.ini
file with two extra entries.
Sample Connect.Ini File
There are several reasons why you may want to set up
additional entries in your connect.ini.
- Local protocol
You may want to take advantage of using local protocol
to speed up Collect! batch processes on your Server.
- Create a Collect! testbed
You may want to set up a Collect! test site to try out a
new version or new functionality.
- Opening multiple Collect! systems
You may want to start several instances of Collect!,
each with its own configuration for IP Address and Port.

Local Protocol
By default, Collect! uses TCP protocol to talk to CV11 Server.
This is certainly necessary for workstations talking to Collect!
over your network. However, if you need to run system intensive
batch processes that take hours of time and slow down your
system, you will be happy to know that you can start Collect! on
your Server, even in Shared mode, using LOCAL protocol, and
Collect! will motor through your procedures in a fraction of the
time it would take using TCP protocol. This is because Collect!
normally talks to the CV11 Server through your network when
using TCP protocol. This slows things down. Using LOCAL
protocol, Collect! talks directly to the CV11 Server.
 For this reason, you must be on the machine
where your CV11 Server is running when you start Collect!
using LOCAL protocol.
For this reason, you must be on the machine
where your CV11 Server is running when you start Collect!
using LOCAL protocol.
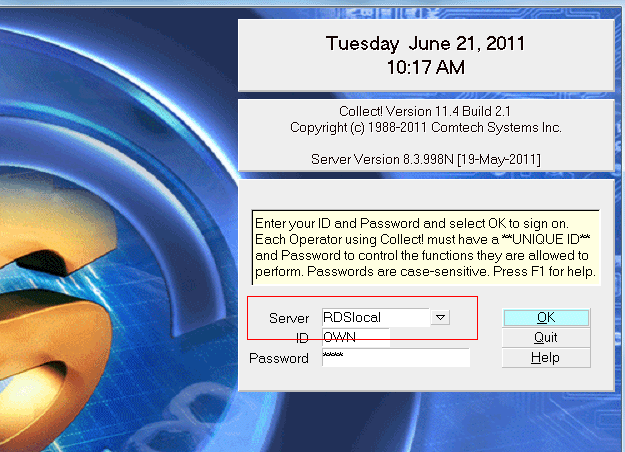
RDSlocal Selected from the Server Pick List
Collect! ships with a connect.ini that has
a LOCAL protocol entry (RDSlocal in the pick list.) Or, you can
simply add these lines to your current connect.ini.
[RDSlocal] ; This is the name you give to this entry
Protocol=local ; This tells Collect! to use LOCAL protocol
Name=RDS ; This is the internal name of the CV11 Server
 RDS is the internal name of the
CV11 Server. This name is set in the CV11\catalog\rdmserver.ini in
the setting ServerName=RDS. You must use
the correct "Name" in your RDSlocal configuration or Collect!
won't be able to find the CV11 Server when it starts up. By default,
this is always "RDS" unless you have changed it in the rdmserver.ini.
RDS is the internal name of the
CV11 Server. This name is set in the CV11\catalog\rdmserver.ini in
the setting ServerName=RDS. You must use
the correct "Name" in your RDSlocal configuration or Collect!
won't be able to find the CV11 Server when it starts up. By default,
this is always "RDS" unless you have changed it in the rdmserver.ini.
Using Local Protocol
Any Collect! process running on your Server can be optimized
by using LOCAL protocol, easily selected from the Server pick
list in the Signon form.
The Signon Server pick list is available in Collect!
Version 11.4.1.1 and newer.
These are some of the processes that speed up considerably
on large databases when you use LOCAL protocol.
You do NOT have to sign in EXCLUSIVE to use LOCAL
protocol. Even in SHARED mode, your batch processing
procedures will run more quickly when you use LOCAL protocol.
You can speed up processes even more using EXCLUSIVE
mode with LOCAL protocol.
You must be on the machine where your CV11 Server
is running when you start Collect! using LOCAL protocol.
Collect! Testbed
You can install Collect! to a test location and easily connect
to it using the Signon Server pick list. You can run your
working database alongside your test one. This is very useful
for testing a new version of Collect! before going live after an
upgrade.
The Signon Server pick list is available in Collect!
Version 11.4.1.1 and newer.
Configure a CV11 Server entry in the connect.ini.
for your testbed site, with proper IP Address and Port settings.
In the sample file below, you can see an entry for "RDS2" with a
different IP Address.
Sample Connect.Ini File
When you select "RDS2" from the Server pick list in the
Signon form, Collect! will look for a CV11 Server running at
the designated IP Address.
At the same time, you can open another instance of Collect!
on the same machine, "RDS" for example, to sign into
your working database. Collect! will look for a CV11 Server
running at the IP Address you set for your "RDS" entry.
You can run tests and compare results with your live database.
You can also compare features and functionality. The Signon
Server pick list makes it easy to connect to your testbed and
to your live database from the same machine.
Opening Multiple Collect! Systems
Administrators will find the Signon form's Server pick list very
useful, especially when servicing several Collect! systems,
in a hosted solution, for instance.
The Signon Server pick list is available in Collect!
Version 11.4.1.1 and newer.
Configure your CV11 Server entries with proper IP Address and
Port settings in the connect.ini.
In the sample file below, you can see an entry for "RDS2" with a
different IP Address.
Sample Connect.Ini File
When you select "RDS2" from the Server pick list in the
Signon form, Collect! will look for a CV11 Server running at
the designated IP Address.
At the same time, you can open another instance of Collect!
on the same machine, "RDS" for example. Then Collect! will
look for a CV11 Server running at the IP Address you set
for your "RDS" entry.
The CV11 Server options enable you to easily administer
any number of Collect! systems from the same machine. Simply
set up your configurations in the connect.ini
and Collect! will build its Signon Server pick list based on your
entries.
File Locations
When you run two or more Collect! instances from the same machine,
you should ensure that your files are being saved and loaded from the
correct location. To do this, make sure you have your Database
Preferences configured correctly for each Collect! system. You can
set global access paths for saving and retrieving files. Otherwise,
Collect! will store files on the local machine. Please refer to Help
topic, Database Preferences for more information.
Please be aware that Collect! reads
the collect.cfg from the local CV11\bin
folder NOT from the bin folder on a remote machine.
Summary
CV11 Server options provide Administrators with a powerful yet
simple tool. Once you have set your configurations in the
connect.ini, Collect! displays a convenient
list of Server choices whenever you start Collect!. Simply select
the CV11 Server option of your choice and the Collect! instance
will open on your machine using your custom configuration.
Run large batch processes quickly using LOCAL protocol.
Test Collect! along side your live database. Administer several
Collect! systems with different IP Addresses.
The Signon Server pick list is available in Collect!
Version 11.4.1.1 and newer.
See Also
- Database Topics
- Batch Processing Topics
|
Was this page helpful? Do you have any comments on this document? Can we make it better? If so how may we improve this page.
Please click this link to send us your comments: helpinfo@collect.org