Client Basics
There is a data set hierarchy to how Collect! organizes all
the component parts of your information. The Client Record
is the top-level record of your data set. In addition to housing
an actual Client for whom you collect money, send remittances
to etc., there are a variety of other uses that you may find
for this part of the system. Examples; Attorney Info, Forwarding
Agents, Process Servers, etc.
Here are some examples:
- Head office detail for large Clients which can be configured
as a consolidation (Owned by) screen so that you may create
grouped reports or statement/ invoices.
- Forwarder Agents your office uses. A pick list for this
purpose exists on the Debtor screen.
- Your list of Attorneys you send accounts to for legal work.
A pick list for this purpose exists on the Debtor screen.
- Store Courthouse or Municipal address information.
This can be used as source Fields to create legal documents.
- Bankruptcy Trustees or Credit Counseling offices whose
contact information is frequently needed.
- If you do not wish to Archive your closed accounts, perhaps
assign 2 sequential Client numbers to large Clients so that
you can move closed files off the Active Client number with
a view to optimizing your report and other process run times.
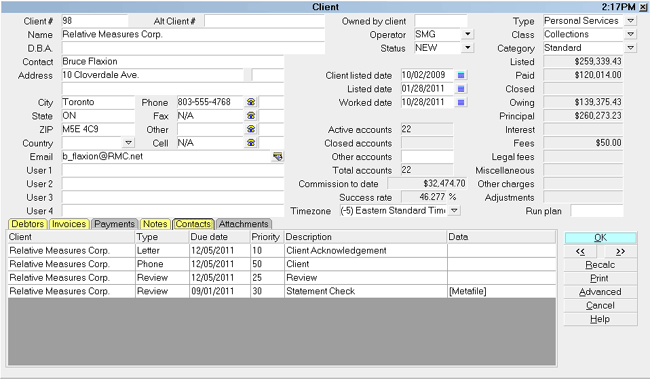
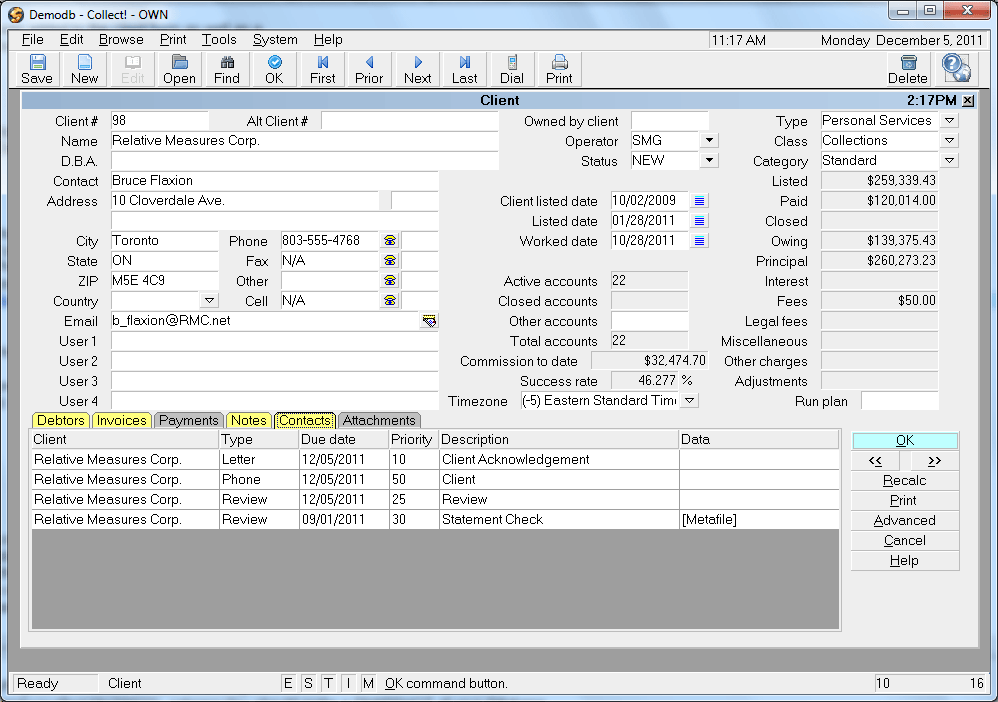
Client Screen
Accessing The Client Setup Screen
The Client Setup Screen may be accessed three ways.
Which method you use will depend on your Operator level
and/or navigational preferences:
- Using the menu bar at the top of screen, your menu
path is "Browse\Client". Once you select Client, you
will be presented with the full system Client list. From
here you can Search, Edit, Add New Clients or Delete
existing Clients.
- From the Main Menu, using the buttons on the left side
of the screen, your path is " Daily Administration\ New Business\Clients".
- From any screen which has a Client Name or Client Number
pulldown menu pick list, selecting that dropdown arrow
will display all the Clients currently in the system.
 There is a "View" button on the Debtor screen
in the upper right corner, right beside
the Client number field. If a user has
access rights to view Clients, clicking that
button will take you directly to that Client's
profile screen where all its history, facts
and stats are stored. Your Admin, Sales
and Executive Management users may find this
shortcut particularly useful if there is a need
for a client setting detail while reviewing a
debtor account.
There is a "View" button on the Debtor screen
in the upper right corner, right beside
the Client number field. If a user has
access rights to view Clients, clicking that
button will take you directly to that Client's
profile screen where all its history, facts
and stats are stored. Your Admin, Sales
and Executive Management users may find this
shortcut particularly useful if there is a need
for a client setting detail while reviewing a
debtor account.
F1 Help is available from any field and screen in the system.

See Also
- Client Topics
| 
Was this page helpful? Do you have any comments on this document? Can we make it better? If so how may we improve this page.
Please click this link to send us your comments: helpinfo@collect.org