How To Tag Records With An Import
When you import records, Collect! allows you to easily select and tag records so that you can perform a
batch process on them. In your file to import, records need not be in consecutive order. Collect! can still use the
file to tag the records so that you can process them. This requires familiarity with Collect!'s Import/Export module.
 To build the simple import routine required for this process, please refer to the import specifications shown on
the linked page.
To build the simple import routine required for this process, please refer to the import specifications shown on
the linked page.
 When you run an import, you will get the following prompt asking if you want to disable record tagging.
For this exercise, select no.
When you run an import, you will get the following prompt asking if you want to disable record tagging.
For this exercise, select no.
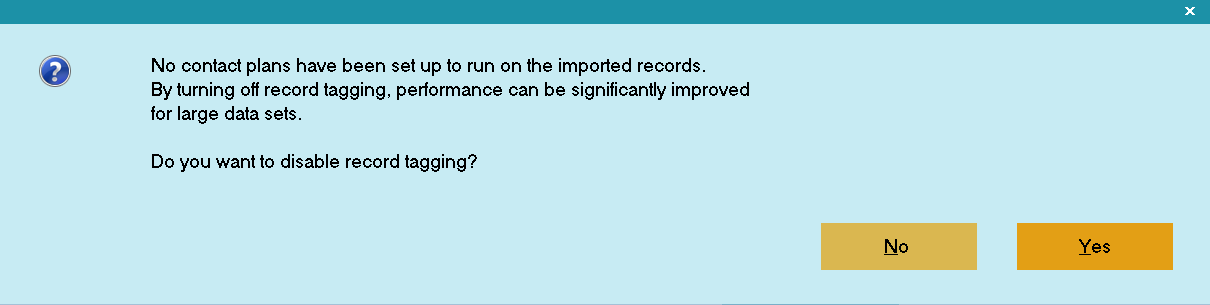
Disable Record Tagging
When you add or edit a debtor record when importing, they are naturally tagged. This would give you a tag list
to continue with your next process. Basically you are keying on the data you are importing to find the account.
This by itself is not enough to tag the debtor. There must be a data change on the account to induce Collect! to tag the account.
Therefore the sample shows changing the status code to TAG. It is not important what field gets changed, as long as a change
happens. This method of filling the Status with TAG is a good way to keep a piece of data as an identifier to be used later
for other processes.
| 
Was this page helpful? Do you have any comments on this document? Can we make it better? If so how may we improve this page.
Please click this link to send us your comments: helpinfo@collect.org